Thursday, May 25, 2023

Using VS Code over Samba on Mac

Updated 06/08/23 with some minor code edits to make sure dev server is mounted first and to ignore certain file patterns such as git files

The Problem

In my current job I am working on a very old codebase where the development has to be done on a dedicated dev server. For me that means using Samba on a MacBook. And from what I've read in various places, the Samba implementation on MacOS isn't always the best. For me, it is terribly slow and I have run into a couple of major issues that make development more difficult. The first issue is that I cannot use VS Code's built-in version control tools. I have tried changing various settings but it still doesn't work right. And the bigger issue is that because of the large number of files and the slowness of the connection, I cannot use the global find or easily pull up a file by name.

A Solution?

Microsoft has a solution for this. It's called VS Code Remote Development. I have not tried it but it sounds promising. The problem is that at my job, it could take weeks (months?) to convince the powers-that-be that it's needed and secure. It's just one of those times where I can write my own solution faster than waiting on management to debate the issue. So here's what I came up with.

My Solution

Based on this gist I found, I wrote my own code to keep my local codebase in sync with the dev server.

The first part was to create a bash script called devcodemon to watch for changes in my local code directory using fswatch. Then whenever a file changes, it passes that to a Node script to process it. (By the way, I should point out that both of these scripts are in my PATH.)

devcodemon
#!/bin/bash
is_mounted=$(mount | grep rsync-test | wc -l)
if [ $is_mounted -eq 0 ]
then
    echo "Dev server not mounted"
    exit 1
else
    dir2watch="$HOME/rsync-test"
    echo "Monitoring $dir2watch"
    fswatch $dir2watch | (while read line; do sync-file.js "$line"; done)
fi

The second script, sync-file.js checks to see if the file was updated or deleted. If it was the former, then it copies the file over to the dev server. If it's the latter, it removes the file from the dev server. The ora pacakge gives the CLI a nice UI: a spinner while the file is processing and a green check on success or a red X on failure. A Node.js tip here: in order to use this package, you need to set type to module in your package.json file. For more information on CommonJS modules vs ES modules, see this blog post.

sync-file.js
#!/usr/bin/env node
import { copyFileSync, existsSync, unlinkSync } from 'fs';
import ora from 'ora';

const basePath = `${process.env.HOME}/code/io-application-code`;
const destPath = `${process.env.HOME}/mounts/io-dev1`;

const ignorePatterns = [
    /^\/\.git/,
];

const src = process.argv[2];
const dst = src.replace(basePath, destPath);

(async () => {
    ignorePatterns.forEach(pattern => {
        const relativePath = src.replace(basePath, '');
        if (relativePath.match(pattern)) {
            process.exit();
        }
    });

    const spinner = ora({
        text: `Synching ${src}...`,
        color: 'green',
        spinner: 'circleHalves',
        interval: 200,
    }).start();

    const fileExists = await existsSync(src);
    const relativeSource = src.replace(basePath, '');
    const relativeDest = dst.replace(basePath, '');
    if (fileExists) {
        try {
            await copyFileSync(src, dst);
            spinner.succeed(`${relativeSource} copied ${new Date()}`);
        } catch (e) {
            spinner.fail(`${src} failed to copy`);
            console.log(e)
        }
    } else {
        try {
            await unlinkSync(dst);
            spinner.succeed(`${relativeDest} removed`);
        } catch (e) {
            spinner.fail(`Failed to remove ${relativeDest}`);
            console.log(e)
        }
    }
})();
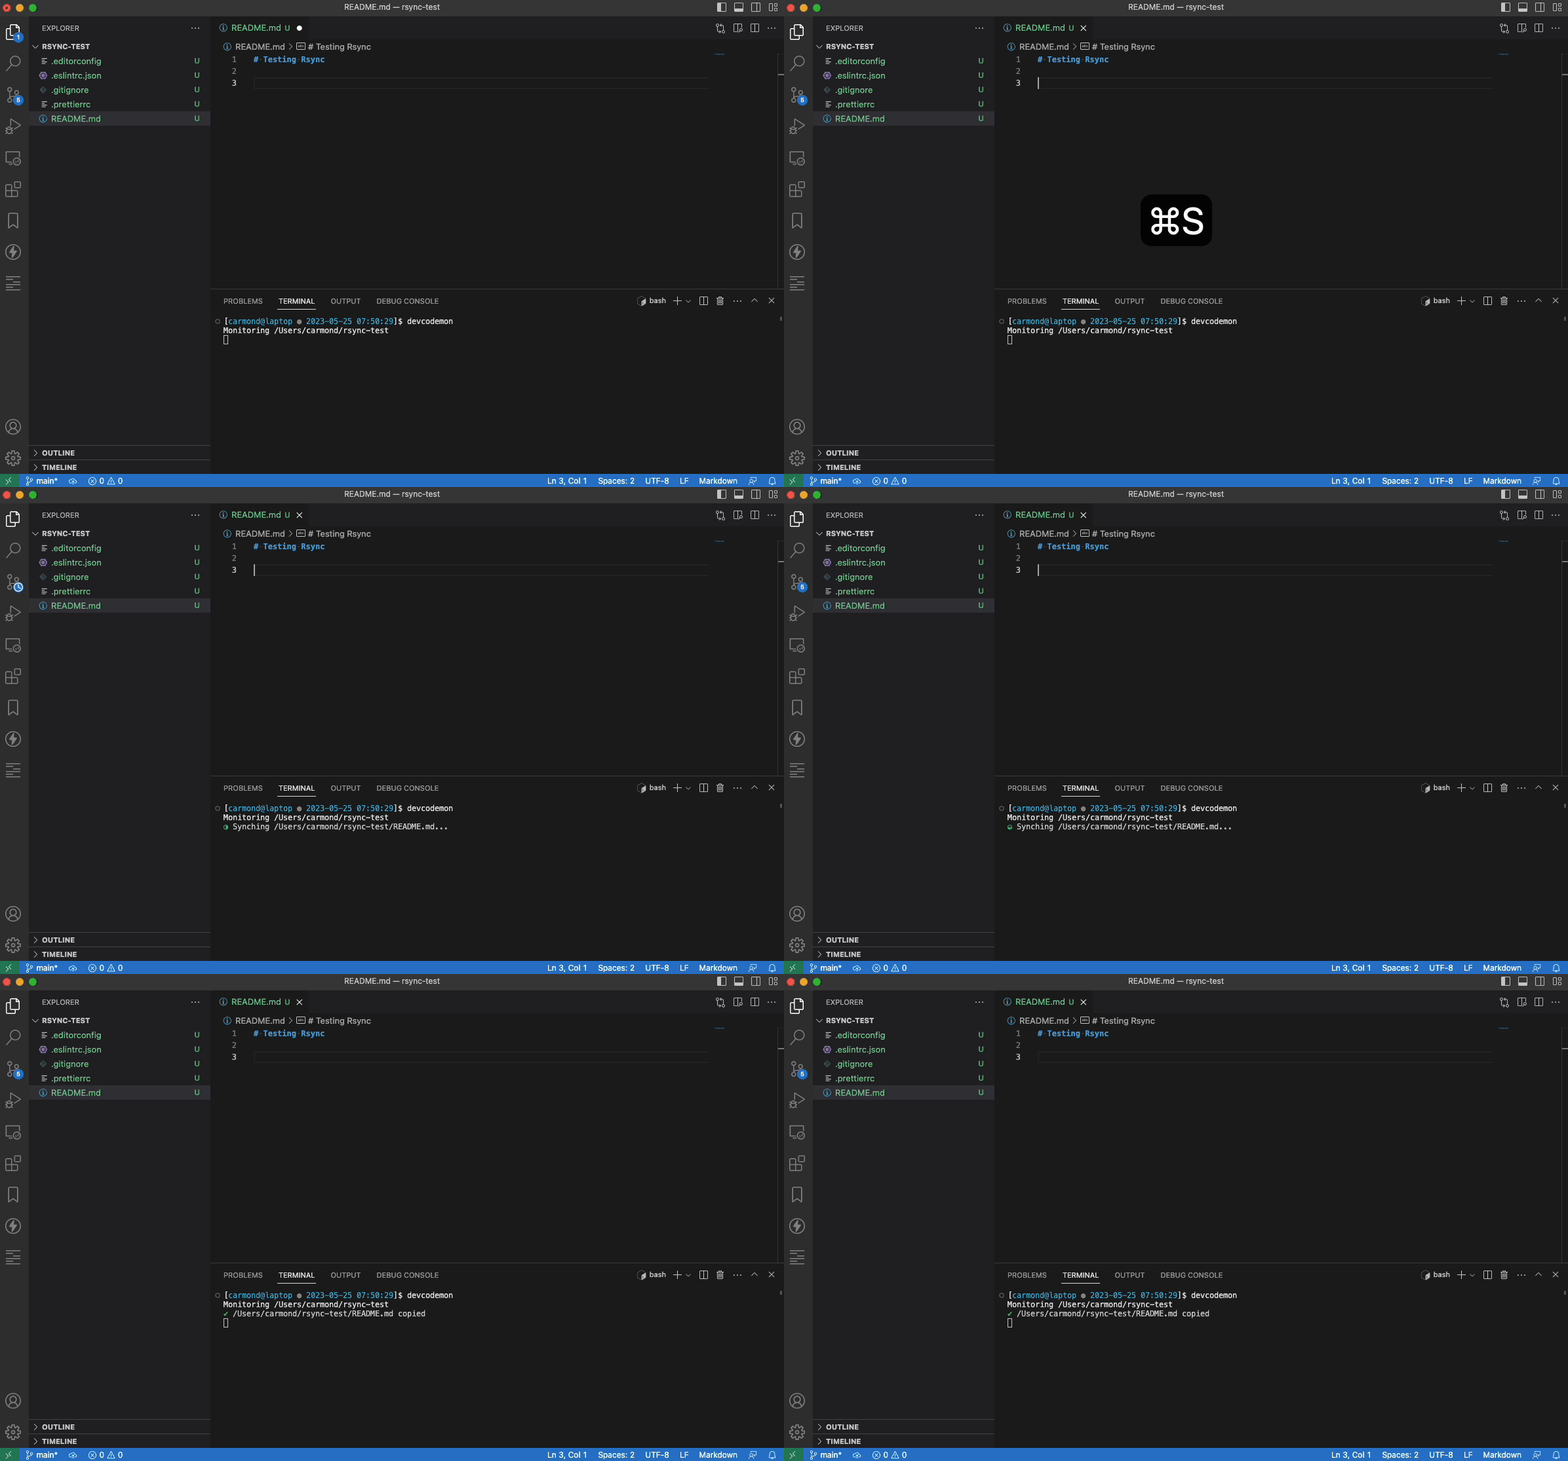
And here is what that looks like in action.

Saving a file

Deleting a file

Thursday, March 9, 2023

Learning React

I have wanted to learn React for a while but after seeing just how many job postings were looking for React experience, I decided it was time to finally dig in. So far I have just picked up the basics of class components. I know from experience that the real learning comes from putting what you know into pratice. So as a challenge exercise, I created a simple little app to take the most popular images from NASA and display them as cards. Click on each card will then open up the full record on the NASA Images site.

Here is the source code on Github.

And here is a demo.


Thursday, February 2, 2023

The Magic Fridge Part 2

In my first post about The Magic Fridge, I talked about how I could use a Raspberry Pi to turn my garage fridge into a smart appliance. The first thing I did was set up a door alarm for when the door was open for too long. The reason I wanted this feature is because on this particular fridge if you slam the door shut, it will pop back open. So on many occassions I would walk into the garage to find the door open to the fridge.

The first thing I did was purchase a magnetic reed switch from Amazon. Here is an image of what that looks like:
If you are not very familiar with electronics, a magnetic reed switch is a simple switch for controlling the flow of electricity through the use of a magnet. You can get a good explanation here. To use this with my fridge, I attached one side to the side of the fridge and one side to the door. When the door is closed, the magnet closes the switch and thus completes the circuit. When the door is open, the magnet pulls away and opens the circuit which then prevents the circuit from being completed.
I then also wired up an LED bulb to the Pi to turn on when the door is opened. Here is a diagram that gives an overview of everything we have thus far.
Notice that in both circuits I added a small resistor. This is to minimize the current flow and protect the Raspberry Pi from damage. Now that we have our hardware configured, let's take a look at the code.

Step 1 is just to import the Python package that I'll be using:
from config import config
from gpiozero import LED, Button
from message import sendTextMessage
from time import sleep
Next I am going to set up a few things: I will use the max_count variable to be my threshold. So in this case, if the door is open more than 60 seconds, I will take action. Button and LED come from the gpiozero interface (which greatly simplies working with components on the Raspberry Pi in Python). This is just telling my code which pins my button or switch in this case and LED bulb are connected to respectively. The testing and verbose variables will just be debugging purposes.
max_count = 60
testing = False
verbose = False

switch = Button(17)
light = LED(26)
Next I set up a couple of functions to tell it what to do when the switch is open or closed. If I am debugging, it will print a message to the console and then either turn the LED bulb on or off as in each case appropriate.
def switch_open():
    if testing or verbose:
        print("Switch open")
    light.on()

def switch_closed():
    if testing or verbose:
        print("Switch closed")
    light.off()
Next, I set up the event handlers when_released and when_pressed to tell it what to do when the switch is opened or closed.
switch.when_released = switch_open
switch.when_pressed = switch_closed
And then comes the main code block. It is going to initialize my counter to 0, then perform an infinite loop. Each iteration of the loop will check to see if the switch is "pressed" or closed. If that's the case, we reset our counter and do nothing. But if the switch is open, we start counting. When our count reaches our threshold, we will start blinking the light: on for .2 seconds and then off for .2 seconds. And then it will send me a text message to let me know that the door is open so that I can go close it.
count = 0
while True:
    if switch.is_pressed:
        count = 0
    else:
        count = count + 1
        if verbose:
            print("Switch has been opened for %s seconds" % count)
    if (count == max_count):
        light.off()
        light.blink(.2, .2)
        message = 'Fridge door has been open for ' + str(max_count) + ' seconds'
        if verbose:
            print ('Send message to ' + config["alertPhoneNumber"] + ': ' + message)
        if not testing:
            sendTextMessage(config["alertPhoneNumber"], message)
    sleep(1)
Here is the content of my message package that I used for sending myself text message:
import os;
import requests;

def sendTextMessage(phone, message):
    apiKey = '*my-api-key*'
    resp = requests.post('https://textbelt.com/text', {
        'phone': phone,
        'message': message,
        'key': apiKey
    })
    json = resp.json()
    remaining = int(json["quotaRemaining"])
    if (remaining < 5):
        message = 'Less than 5 text messages left. Go to https://textbelt.com/purchase/ to purchase more.\n\nAPI key: ' + apiKey
        os.system('echo "' + message + '" | mail -s "*my-email-address*')
    return resp.json()
Finally, to kick off the script running, I added it to my crontab so that it will automatically run at startup.
@reboot /home/pi/python/fridge/door-check.py
One final note: In my message package above, I have it email me if my quota is getting low and I need to purchse more message on my SMS gateway. Unfortunately as of May of last year Google no longer supports this. So if you have a way of sending emails from your Rasperry Pi, please let me know.

The Magic Fridge

This is the first in what is hopefully going to be a series about The Magic Fridge. What is The Magic Fridge, you say? Well, I have a beverage fridge that I keep in the garage. I am always trying to find unique sodas and drinks to stock it with. My wife made a comment one day about how she never saw me stocking it yet it always seemed to have something new. She said "it's like some sort of magic fridge." The name stuck and now everyone affectionately refers to it as the magic fridge.

One day I got an idea to make it a bit more magical. I thought, what if I could use a Raspberry Pi to turn my ordinary beverage fridge into a smart fridge. Sure, I could probably just go buy a smart fridge (if I had the space and the money) but I have an engineering mindset and enjoyed the technical challenge of making it happen.

There are 3 main features that I implemented with on the Magic Fridge: My hope is to also write an app to track my inventory. I've done some preliminary work on that but as things go with side projects, it has been stagnant for a while.

 
Blogger Templates